Securing Raspberry Pi access using free CloudFlare
I’ve recently been building an environment monitoring station at home using a Raspberry Pi 4B+. It turns out to be a remarkably powerful computer, much more than I remembered from earlier versions. I’ll write more another time about the environment side of things, but today I’m going to focus on how awesome the UX is when putting it behind Cloudflare.
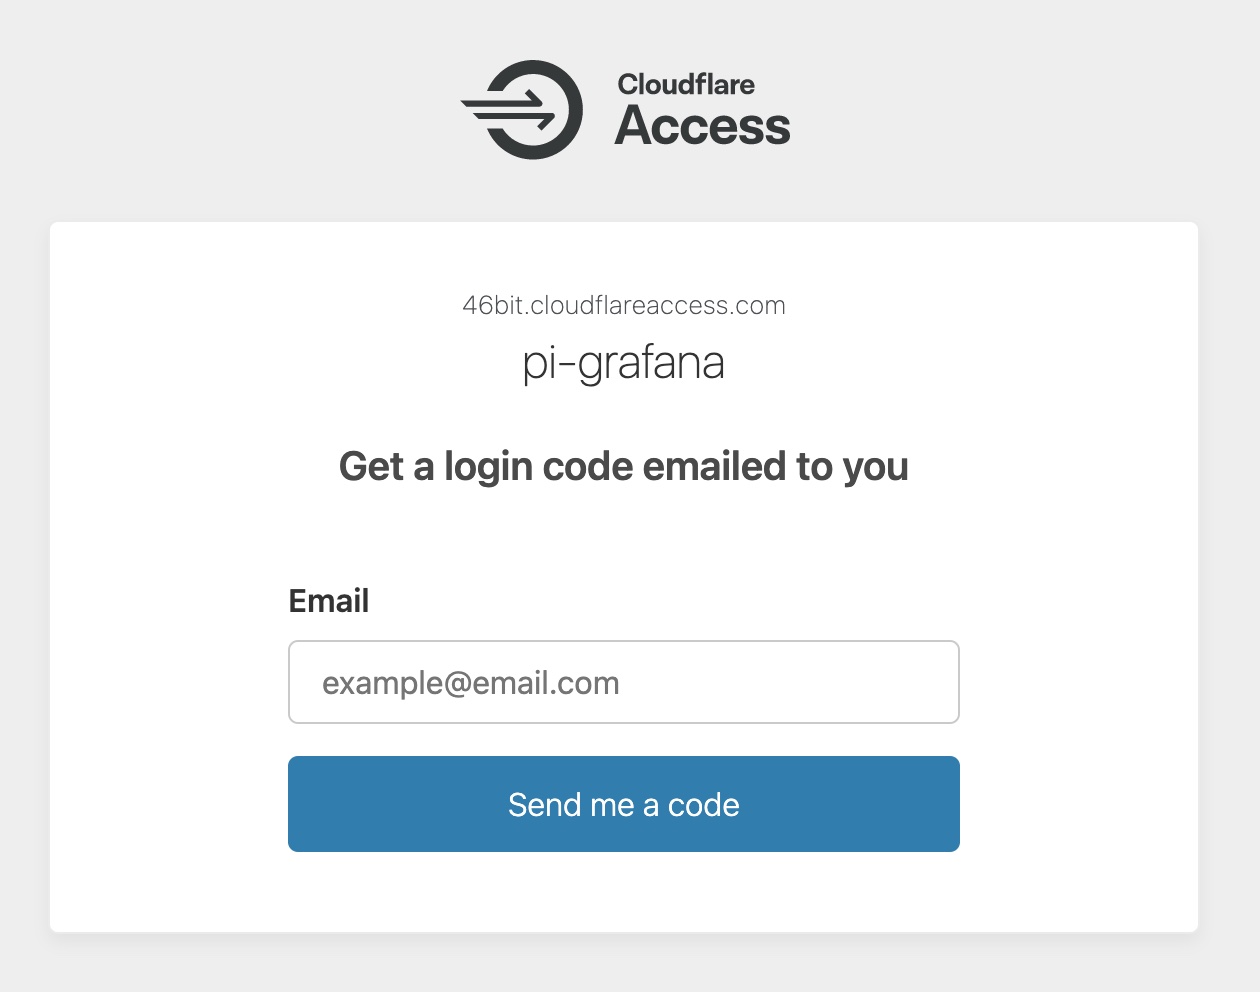
This is the first time I’ve used Cloudflare for more than DNS, and it’s remarkable how much you can do for free. When I SSH to pi.46bit.cloud, I get redirected to a browser page to sign in – either with a one-time password emailed to me, or via Google OAuth. Only once that’s done can I actually finish SSHing. Cloudflare hides my actual home IP address and adds a strong boundary around accessing services externally.
How to set it up
You have to be hosting your DNS with Cloudflare for this to work. Once that’s done there are two parts to this:
- Connecting your host to Cloudflare: Argo Tunnel connection outbound from my Pi to Cloudflare. This acts as a reverse proxy. Cloudflare forwards authenticated traffic to the Pi through this
- Setup inside Cloudflare: A DNS entry pointing to a hostname identifying that tunnel, and then a Cloudflare Access app telling Cloudflare what authentication to require.
Setting up Argo Tunnel involves manual sysadmin on your Pi. Cloudflare provide good instructions on setting up the tunnel. You have to do this before proceeding further.
Once you’ve set up Argo Tunnel, Cloudflare Access can be setup in Cloudflare’s web interface. It’s exposed in their interface in a few different places and easier to configure in code using Terraform. Here’s how to do it with the Cloudflare Terraform Provider:
variable "cloudflare_account_id" {
  description = "Provide your Cloudflare account ID (a 20-ish character string)"
}

# Change `46bit.cloud` to the name of your domain (DNS must be hosted in free Cloudflare)
resource "cloudflare_zone" "_46bit_cloud" {
  zone = "46bit.cloud"
  plan = "free"
}

resource "cloudflare_record" "pi" {
  zone_id = cloudflare_zone._46bit_cloud.id
  type    = "CNAME"
  proxied = true

  # Change `pi` to the subdomain you want to use
  name  = "pi"
  # Change this to reflect the ID of your Argo Tunnel
  value = "GUID-GOES-HERE.cfargotunnel.com"
}

resource "cloudflare_access_application" "pi" {
  name = "pi"
  account_id = var.cloudflare_account_id

  # Change this to the subdomain you want to use
  domain           = "pi.46bit.cloud"
  # Change this to `self_hosted` if this is a webapp rather than SSH
  type             = "ssh"
  session_duration = "24h"

  allowed_idps = [cloudflare_access_identity_provider.email_an_otp_to_login.id]
  auto_redirect_to_identity = true
}

resource "cloudflare_access_policy" "pi_email" {
  name = "Pi SSH access via email"
  account_id = var.cloudflare_account_id

  application_id = cloudflare_access_application.pi.id
  precedence = "1"
  decision   = "allow"

  include {
    # Change this to your email address domain
    email_domain = ["46b.it", "46bit.com"]
  }
}

resource "cloudflare_access_identity_provider" "email_an_otp_to_login" {
  account_id = local.cloudflare_account_id
  name       = "Email a One Time Password to login"
  type       = "onetimepin"
}
Now visiting the domain will require you to be able to access an email account on that domain before you can proceed. For automatic access you can use Service Tokens (sadly mTLS isn’t supported in the free plan.)